The Timecard Import procedure is used to download Payroll data from a custom Payroll program. Use this option to print an Edit Report of the download transactions, correct or delete imported payroll records, and transfer uploaded records into the normal payroll work file.
Menu Options
Timecard Import Processing - Edit
Depending on the Universal Equipment Company settings in the Equipment Accounting defaults, the error message:
“UNIVERSAL EQP CO/DIV NOT THE SAME AS DIST CO/DIV”
will display if:
1. The Equipment Company/Division used to enter payroll is not the same as the Distribution Company/Division.
-and-
2. The Equipment Accounting defaults, Universal Equipment Company and Edit Universal Equipment co/Div to Distribution Co/Div (Repair Non-Job Only), are set to Y.
Admin | Application Installation | Setup Default Values | Equipment Accounting option - pages 1 and 3.
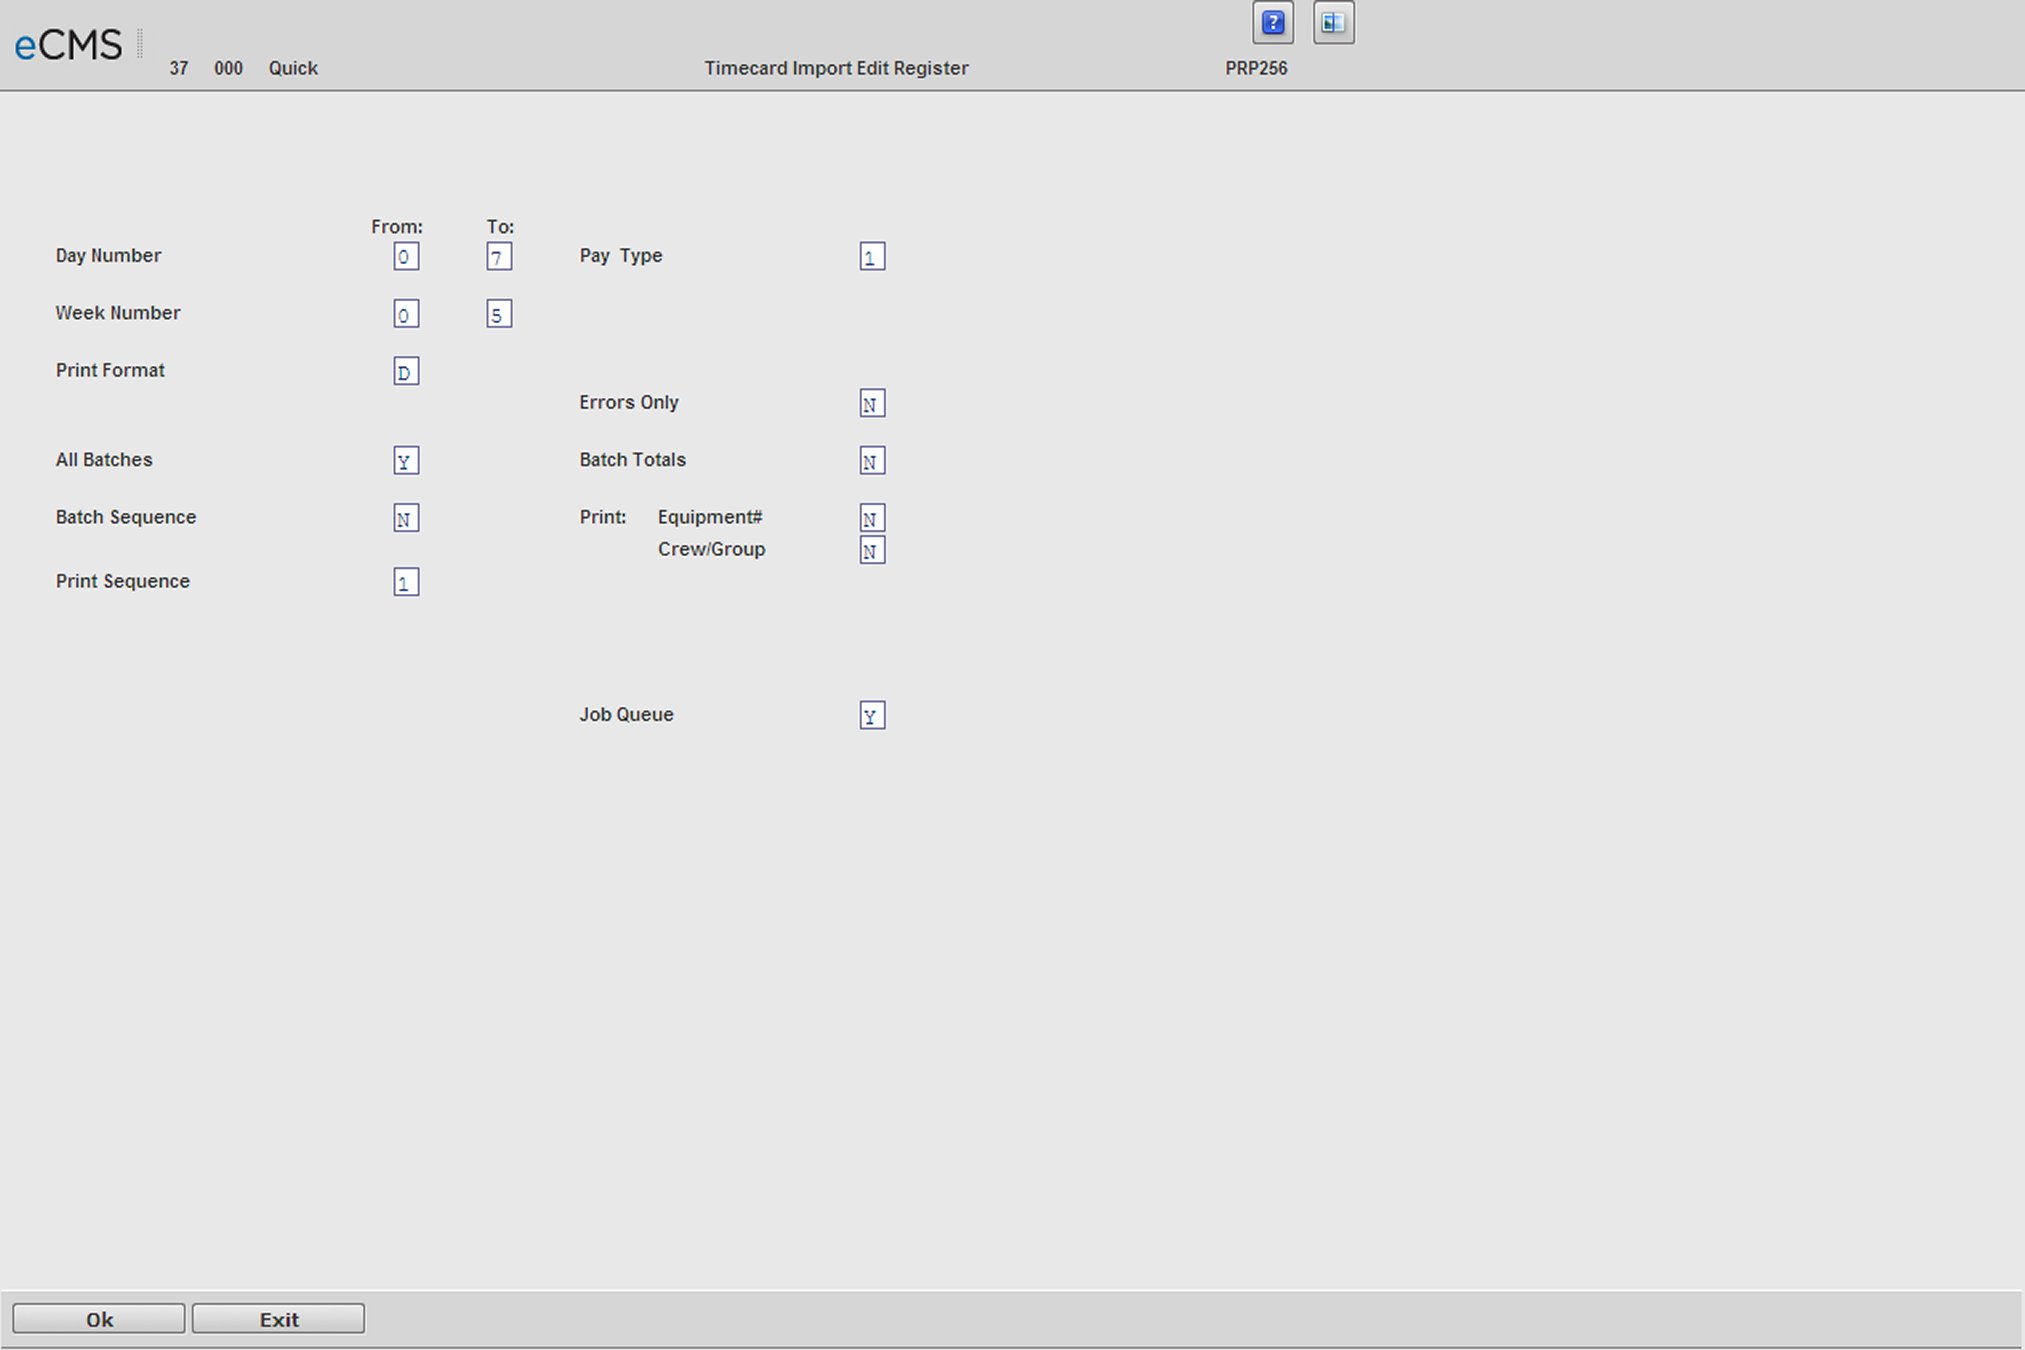
Select a range of days, or accept the defaults (0 to 7) to include all day numbers. Specify a single day by entering that number in both fields.
Select a range of weeks, or accept the defaults (0 to 5) to include all week numbers. Specify a single week by entering that number in both fields.
Select a code to determine the format in which the Edit Report should print. If data was initially entered using the Weekly Time Card Entry screen, editing that data would be much easier if it were printed using the same format.
D |
Daily Format listing. |
W |
Weekly Format listing. |
This option will display only when an Executive Security Code was used.
1 |
Print the Edit only for the Executive payroll. |
2 |
Print the Edit only for the Non-executive payroll. |
3 |
Print the Edit for both the Executive and Non-executive payroll. |
Y |
Print records with errors only. |
N |
Print all records. |
Note: Error messages will print below invalid entries regardless of this selection.
Y |
Modify all batches within the Batch number range. |
N |
Print all Payroll Batches generated for the selected criteria. |
Y |
Include the Batch totals in the printout. |
Y |
List the edit ordered by Batch Number. |
Y |
Include the Equipment Number in the printout. |
Y |
Include the Crew/Group Number in the printout. |
1 |
Print the edit ordered by Employee Number. |
2 |
Print the edit in the order in which the entries were made. |
3 |
Print the edit ordered by Job Number. |
4 |
Print the edit ordered by Employee Class. |
5 |
Print the edit ordered by Department Number. |
Y |
Submit this option for processing in the job queue. |
N |
Process this job ahead of other jobs that are in the job queue. |
Timecard Import - Maintenance
This option is used to correct, or delete, imported payroll records.
Depending on the Universal Equipment Company settings in the Equipment Accounting defaults, the error message:
“UNIVERSAL EQP CO/DIV NOT THE SAME AS DIST CO/DIV”
will display if:
1. The Equipment Company/Division used to enter payroll is not the same as the Distribution Company/Division.
-and-
2. The Equipment Accounting defaults, Universal Equipment Company and Edit Universal Equipment co/Div to Distribution Co/Div (Repair Non-Job Only), are set to Y.
Admin | Application Installation | Setup Default Values | Equipment Accounting option - pages 1 and 3.
Timecard Import - Maintenance Entry screen
Week
Enter the Week Number (1 to 5). This number is retained for subsequent entries, but may be changed as required.
The Week Number is used to group records from the same pay period for processing and to control the calculation of Union Deductions, Union Benefits, and Employee Deductions based upon specific week numbers.
Checks will be combined if:
They are of the same Type - Regular, Vacation, Payoff, etc.
They are for the same Employee
They are for the same Payroll Period
Note: Use different Week Numbers to prevent checks from being combined.
Social Security Number/Employee Number
Enter the Employee's Social Security Number, or Employee Number, or click the respective prompt to select from a list. The Employee must have active records in the Employee Master and the Employee State and Local file. If either of these records is missing, an error message will display and processing for this Employee cannot proceed until this is corrected.
Type
Enter the Check Type code to indicate the type of payroll check being entered, or click the prompt to select from a list.
Separate tax calculations and check writing are performed for each Check Type entered in the same period. Checks are not printed for Payoff/Manual or Reverse Payroll Types.
Shift
This field defaults to the entry in the Employee Master. To override that value, click the prompt and select one of the following from the drop-down list.
1 |
Standard |
2 |
Swing |
3 |
Graveyard |
0 |
Defaults to the Employee Master |
The entry in this field will determine if additional pay (Shift Differential) is to be added to the Employee’s Pay rate. Shift Differential amounts are entered in the Payroll Defaults and the Employee Class files.
Admin | Application Installation | Setup Default Values | Payroll option - 2nd screen
Payroll | Maintenance 1 | Employee Class Master
Distribution Company/Distribution Division
These fields auto-fill from the entries made on the Payroll Header Entry screen. They can be changed as required, by entering new values or clicking the Distribution Division prompt to select from a list. These fields are used to charge the Employee's time to a Company/Division other than those originally specified.
All Labor Cost and Burden are charged to the Job Cost and/or General Ledger accounts in the Distribution Company/Division.
An Intercompany Payable and Receivable General Ledger transaction is created for the total amount of the intercompany transaction. The system uses the General Ledger Intercompany Payable and Receivable accounts entered in the Payroll Default File.
Admin | Application Installation | Setup Default Values | Payroll option - 2nd screen
Ticket Number
A Ticket Number is required for any Time & Material job that has its Billing Type set to Time & Material Ticket. Costs are not added to the Time & Material Detail Billing File for these jobs if a Ticket Number is not entered.
Customer Number
Enter a Customer Number if multiple Customers are being billed using the same Time & Material Job/Sub Job.
Screen Default
Enter a screen default number/letter to indicate the type of entry screen to be displayed, or click the prompt to select from a list:
1 |
Regular Payroll Entry |
9 |
Service Request Entry |
2 |
Payroll Exception Entry |
A |
Regular with Equip Hours |
3 |
Job with Adjustments Entry |
B |
Piece Work |
4 |
Job with Work Order Number Entry |
C |
Job with Piece Work |
5 |
Job with Union and Equipment Numbers Entry |
D |
Job with Auto Crew Fill |
6 |
Equipment Repair Entry |
E |
Job with Cost Distribution |
7 |
Equipment Repair with Job Entry |
F |
Job with Dept Entry |
8 |
Weekly Entry |
|
Crew Number
Enter a Crew Number to override that entry in the Employee Master. The Crew Number is used to print Checks, Time Cards, and the Payroll Register ordered by Crew Number.
Crew Group
Enter a Crew Group number, if applicable.
Week Ending Date
A Week Ending date is required if multiple weeks are being processed in the same payroll run and the time needs to be kept separate for Union or Certified payroll reporting.
A Week Ending date should also be used if payroll is generated other than weekly, but separate dates are required for weekly Time & Material Billing.
The Week Ending date prints on the paycheck and is recorded in the Employee History file.
Labor Distribution/Job/Sub Job Number/Cost Distribution
All alpha, all numeric or both alpha/numeric as defined in the company defaults.
Cost Type
If the Labor Cost Distribution and Cost Type for this group of transactions is the same for all labor hours being entered, enter the distribution here. If Employee hours are also used to generate Equipment Charges, enter the Equipment Number.
You may want to enter all, or part of this information, if it is the same for most of the entries for this employee. Information entered here will be displayed on the Standard and Exception Entry screens, and it can be overridden on those screens if necessary, but only on those screens.
Note: Information entered and displayed on the Payroll Header Entry screen cannot be overridden on the Payroll Entry Weekly Selection screen.
Enter the Job/Sub Job, Pay Item, Cost code, and Cost type to be associated with these payroll entries. You will generally want to enter at least the labor cost type when entering time cards to be charged to job cost.
A valid record must exist in the Job Description File for the job/sub job number entered. A message displays if the job has been closed.
Equipment Number
If the eCMS Equipment Accounting application is being used, enter an Equipment Number to charge the Job with Equipment cost in addition to Labor cost. The Equipment charge is based on the number of hours multiplied by the rate for the Equipment, as defined in the Equipment Rate file.
Note: The same Cost Distribution that is used for Labor is also used for the Equipment entry, with the Cost Type E substituted for the Labor Cost Type.
Workers Comp Code
If you want to override the default Worker's Compensation Code (not displayed) for these entries, enter the override in this field.
Batch Number
If you are using batch numbers to control payroll processing, enter the batch number here.
Customer Work Order #
Enter the customer's work order number, if applicable.
Level of Editing
This field will be displayed only if the Payroll default, Override Import Maintenance Editing, is set to Y.
Enter the desired level of editing to be performed by the system.
Display Control screen
The standard system default is Y to display the Payroll Entry Control screen (Blank = Y).
The Control screen displays the total hours, miscellaneous earnings, and one-time deductions for each employee. To suppress the Control screen, use one of the following codes:
1 |
Return to the Payroll Entry Header screen (this screen) when you click OK on any of the Payroll Time Entry screens. |
2 |
Return to the same Payroll Time Entry screen you are entering data on when you click OK on a Time Entry screen. Selecting the Control screen, you will return to the Payroll Entry Header screen. |
Click to display either the Time Card Maintenance Regular Detail Entry, or an alternate screen if you entered a screen Default Code for another screen format. |
|
Click to return to the Main Menu without saving changes. |
|
Click to accept a closed job. |
|
Click to access this processing screen in Change Mode. |
Entries made on the Timecard Import Entry screens are basically the same as previously documented for Payroll Entry with following exceptions:
1. The cursor is positioned at the Job Number field
2. The Entry Header link has been added.
3. After clicking OK, the system responds as follows when the Display Control screen on the"Timecard Entry Selection" screen is set to 2.
a. The employee hours portion of the screen will refresh to allow additional entries.
b. The cursor is repositioned to the Employee Number field.
c. The group number will remain the same for additional entries.
d. Click Control Totals so the employee hours and the distribution entry fields are refreshed, the cursor is repositioned to the Job Number Field, and a new group number is assigned.
e. You may change the Job/Sub Job Number, Cost Type, Day, Crew and Group entries.
f. When your entries are completed, click OK. You will return to the "Timecard Import Entry Selection" screen.
Note: If you do not click OK, your entries will not be recorded.
Change Mode
To make corrections after the Payroll Edit has been run, click Change Mode to display the screen below.
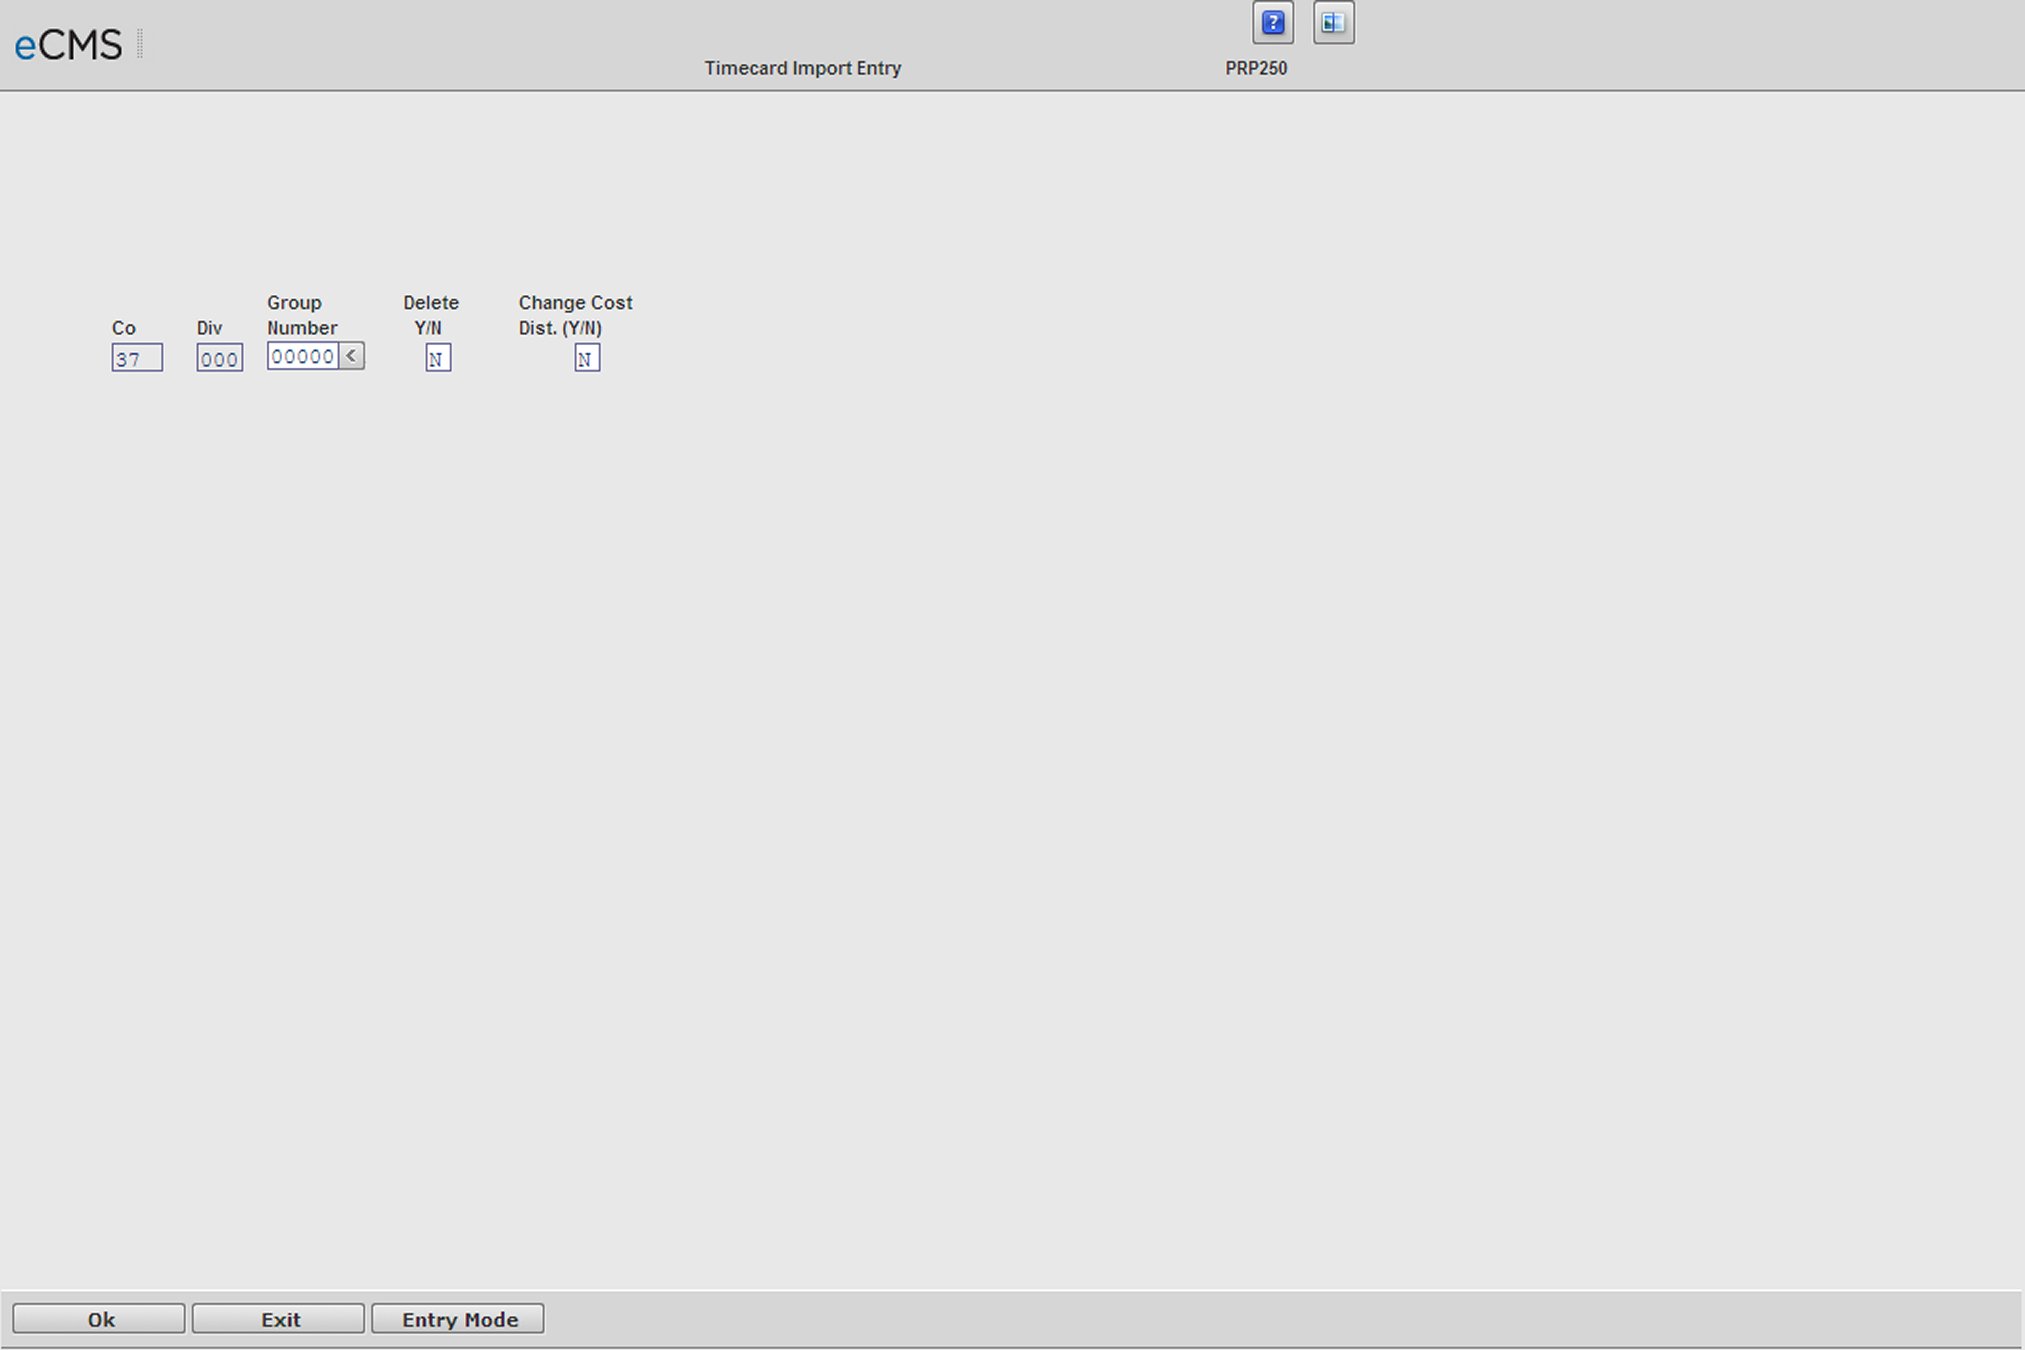
Timecard Import - Maintenance Change Mode screen
Group Number
Enter the Group Number that you want to print on the Timecard Import Edit Register.
To Delete a Group
Enter a Y in the Delete Y/N field. All transactions that have that Group Number will be deleted.
To Delete One Transaction in a Group
Enter an N in this field. Click OK to display the usual Payroll Detail Change screen. See the Payroll Entry/Change Selection screen documentation for details.
Be sure to click OK to record your change. You can click ENTRY MODE to end the change mode.
You do not have to OK through the rest of the entries that do not require changes.
Change Cost Distribution
Y |
Allows access to the Change Cost Distribution Entry screen. This option is available only for entries made on screen Type E (Job with Cost Distribution). Should you try to access this option for entries made on all other screen types, the message Group# not entered using Job with Cost Distribution screen displays. |
You may change the Job/Sub Job Number, the Cost Type and the Cost Distributions. The changes made will change all entries for that Cost Distribution for this Group.
Click to save changes and to return to the "Timecard Import Entry Change Mode Selection screen". |
|
Click to return to the Main Menu without saving changes. |
|
Click to access this processing screen in Entry Mode. |
Note: If you do not click OK, and you click ENTRY MODE, the changes made on this screen will not update your records.
Timecard Import - Update
This option is used to transfer uploaded records into the normal payroll work file so they may be included in normal payroll processing.
When you import time cards, your setting for the Payroll default, Import Update - Assign Group # by Employee, will have the following effects:
Y |
During the import update, one group number is assigned per Employee. |
N |
During the import update, separate group numbers for each transaction are assigned if the import file has separate group numbers. |
Admin | Application Installation | Setup Default Values | Payroll option - page 4
Clicking OK will display the Security Level popup window listing all security levels assigned to the user. Select the security level to be used and click OK again to run the update.
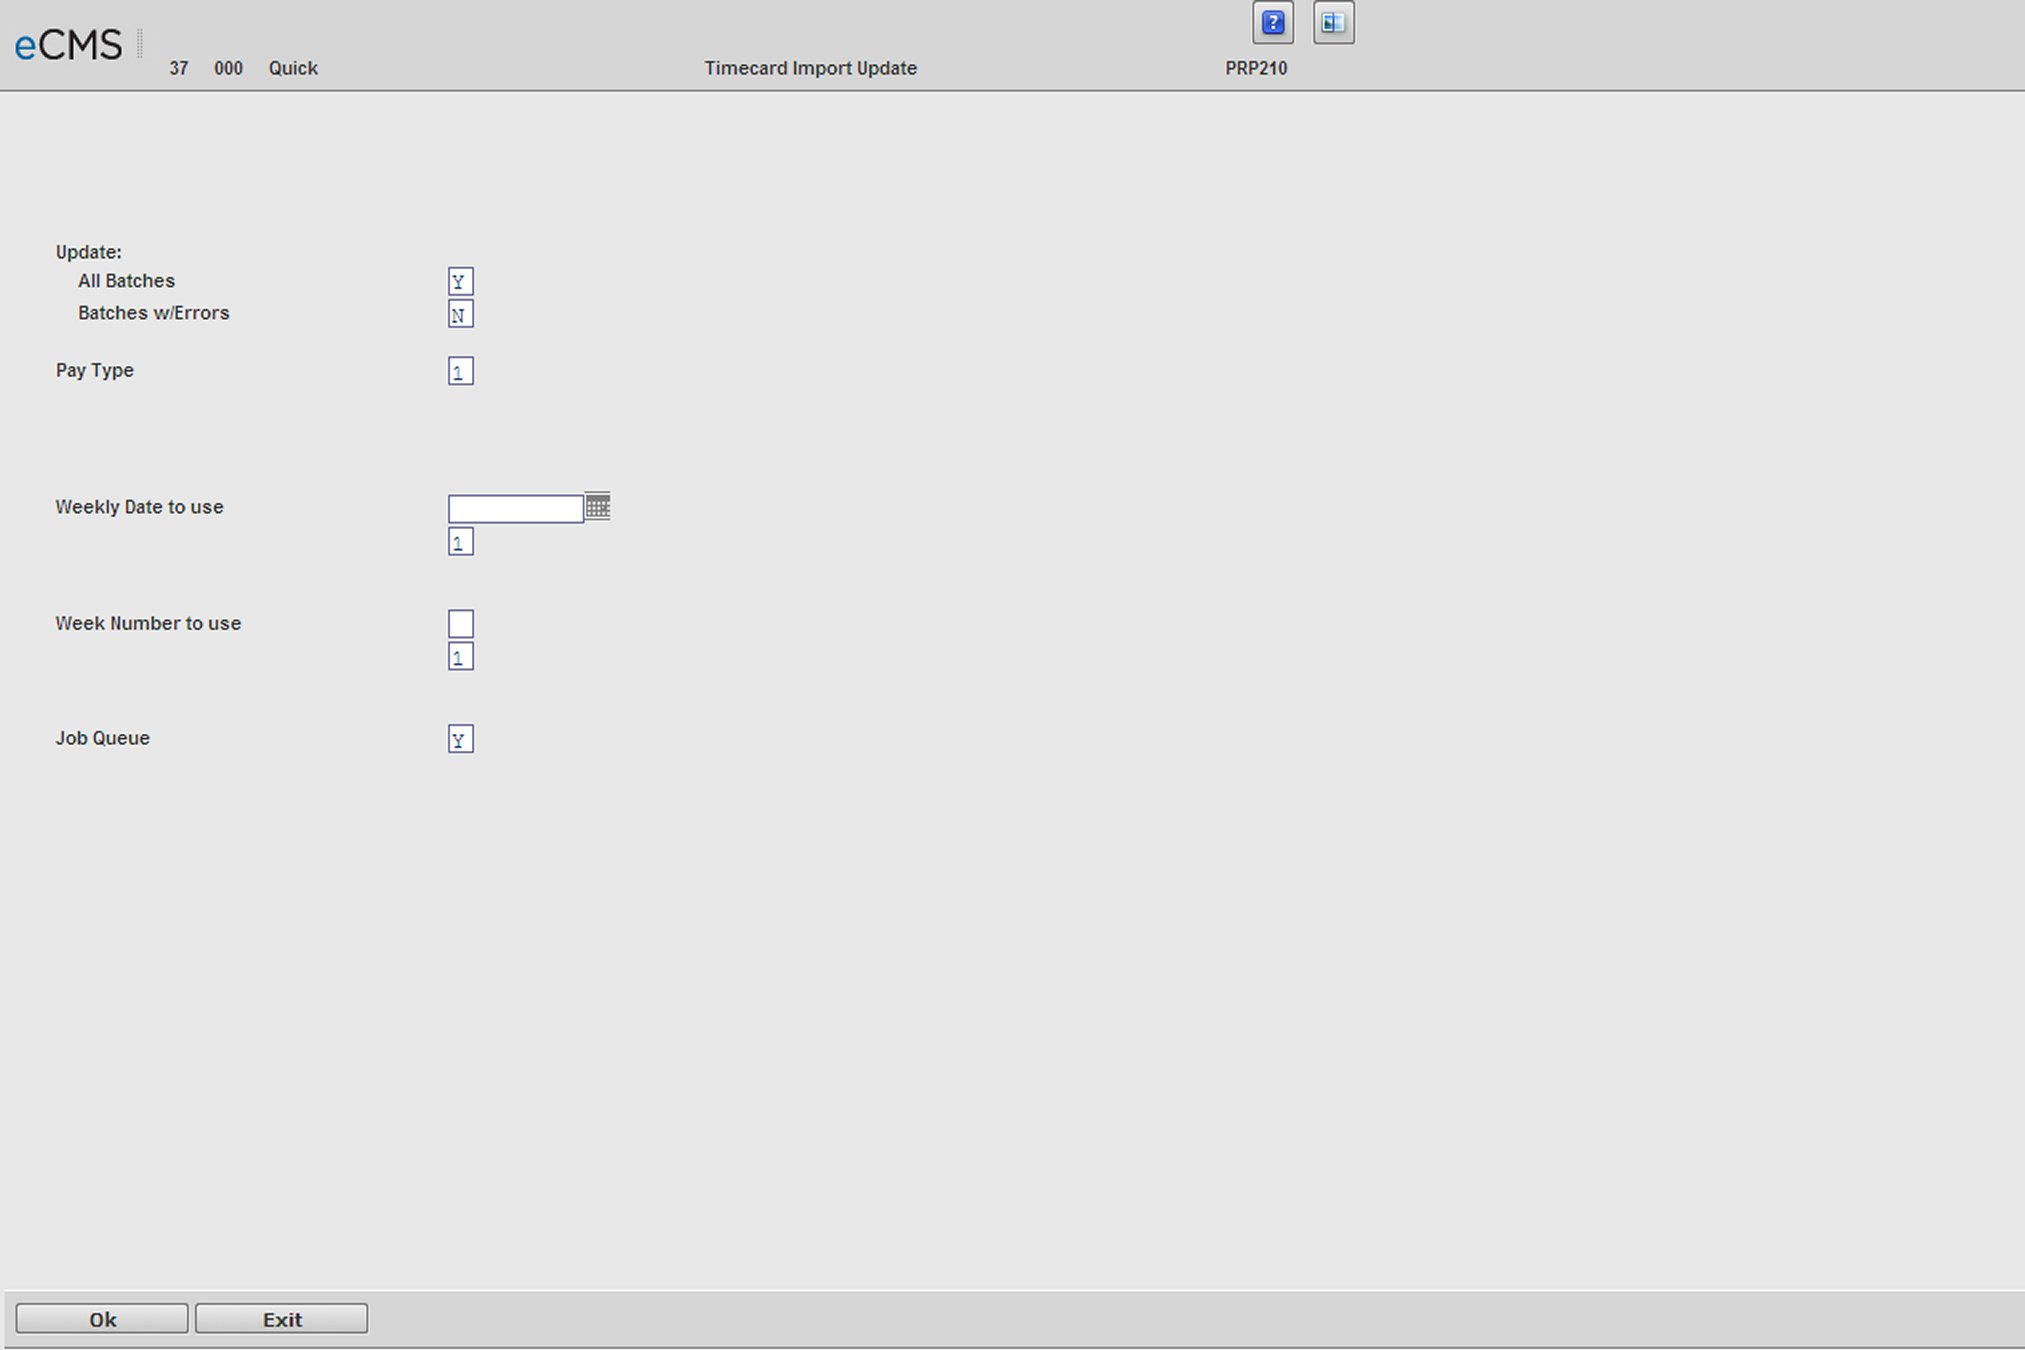
Timecard Import - Update screen
All Batches
Y |
Post all Batches. |
N |
Post individual, selected, Batch numbers. |
Batches w/Errors
Y |
Post items within a Batch even if an entry in that Batch number is in error. |
N |
Do not post items within a Batch if any entry in that Batch number is in error. |
Pay Type
This option displays only when an Executive Security Code is being used.
1 |
Post only the Executive Payroll. |
2 |
Post only the non-Executive Payroll. |
3 |
Post both Executive and non-Executive Payroll. |
Weekly Date to Use if none in record
Enter an alternative date to use if the current week does not exist.
Override all transactions
Y |
Override all weekly dates with the alternative date you specified in the Weekly Date to Use if none in record field. |
Week Number to Use if none in record
Enter an alternative week to use if the current week does not exist.
Override all transactions
Y |
Override all week numbers with the alternative number you specified in the Weekly Number to Use if none in record field. |
Job Queue
Y |
Place the record in the Job Queue. |
Click to process these entries and display the Security Level popup window listing all security levels assigned to the user. Select the security level to be used and click OK again to run the update. and return to the Main Menu. |
|
Click to return to the Main Menu without saving changes. |
![]()