941 State and Local Maintenance
To process 941 forms or W2s, you must assign local codes to their respective state codes within every company that has produced earnings records for the employees. If you do not assign local codes, they will not be processed. Also, you cannot assign a local code to more than one state. If you do, the system will associate the local to the first related state only.
To assign local codes to state codes, you must have all executive security. In other words, when you log in to eCMS, when you are prompted to select Executive Security, enter Y. Optionally, you can have All Company/All Division security.
Note: Processing 941 forms uses the same state-local relationship as processing W2s (see W2 Forms). If you have already set up state-local relationships for W2 processing and the same relationships apply to 941 form processing, then you do not need to assign local codes to state codes again for 941 forms. The same state-local relationships apply.
For detailed information about Laser State and Local Maintenance, refer to the Year End Processing documentation provided by Computer Guidance Corporation.
Before you use this option, note the following:
If you are required to report local taxes on 941 forms, then you must perform this option before you process 941 forms.
You must have set up your state codes and local codes.
For more information, see State Master and Local Master.
Local Codes must be related to their respective state within every company that has produced earnings records for the employees. If they are not related to their state, they will not process. You cannot have a local related to more than one state. If you do, the system will tie the local to the first related state.
To assign Local codes to State codes
1. With executive security, on the Main Menu, click Payroll, select Quarterly Processing, and then click State/Local File Maintenance.
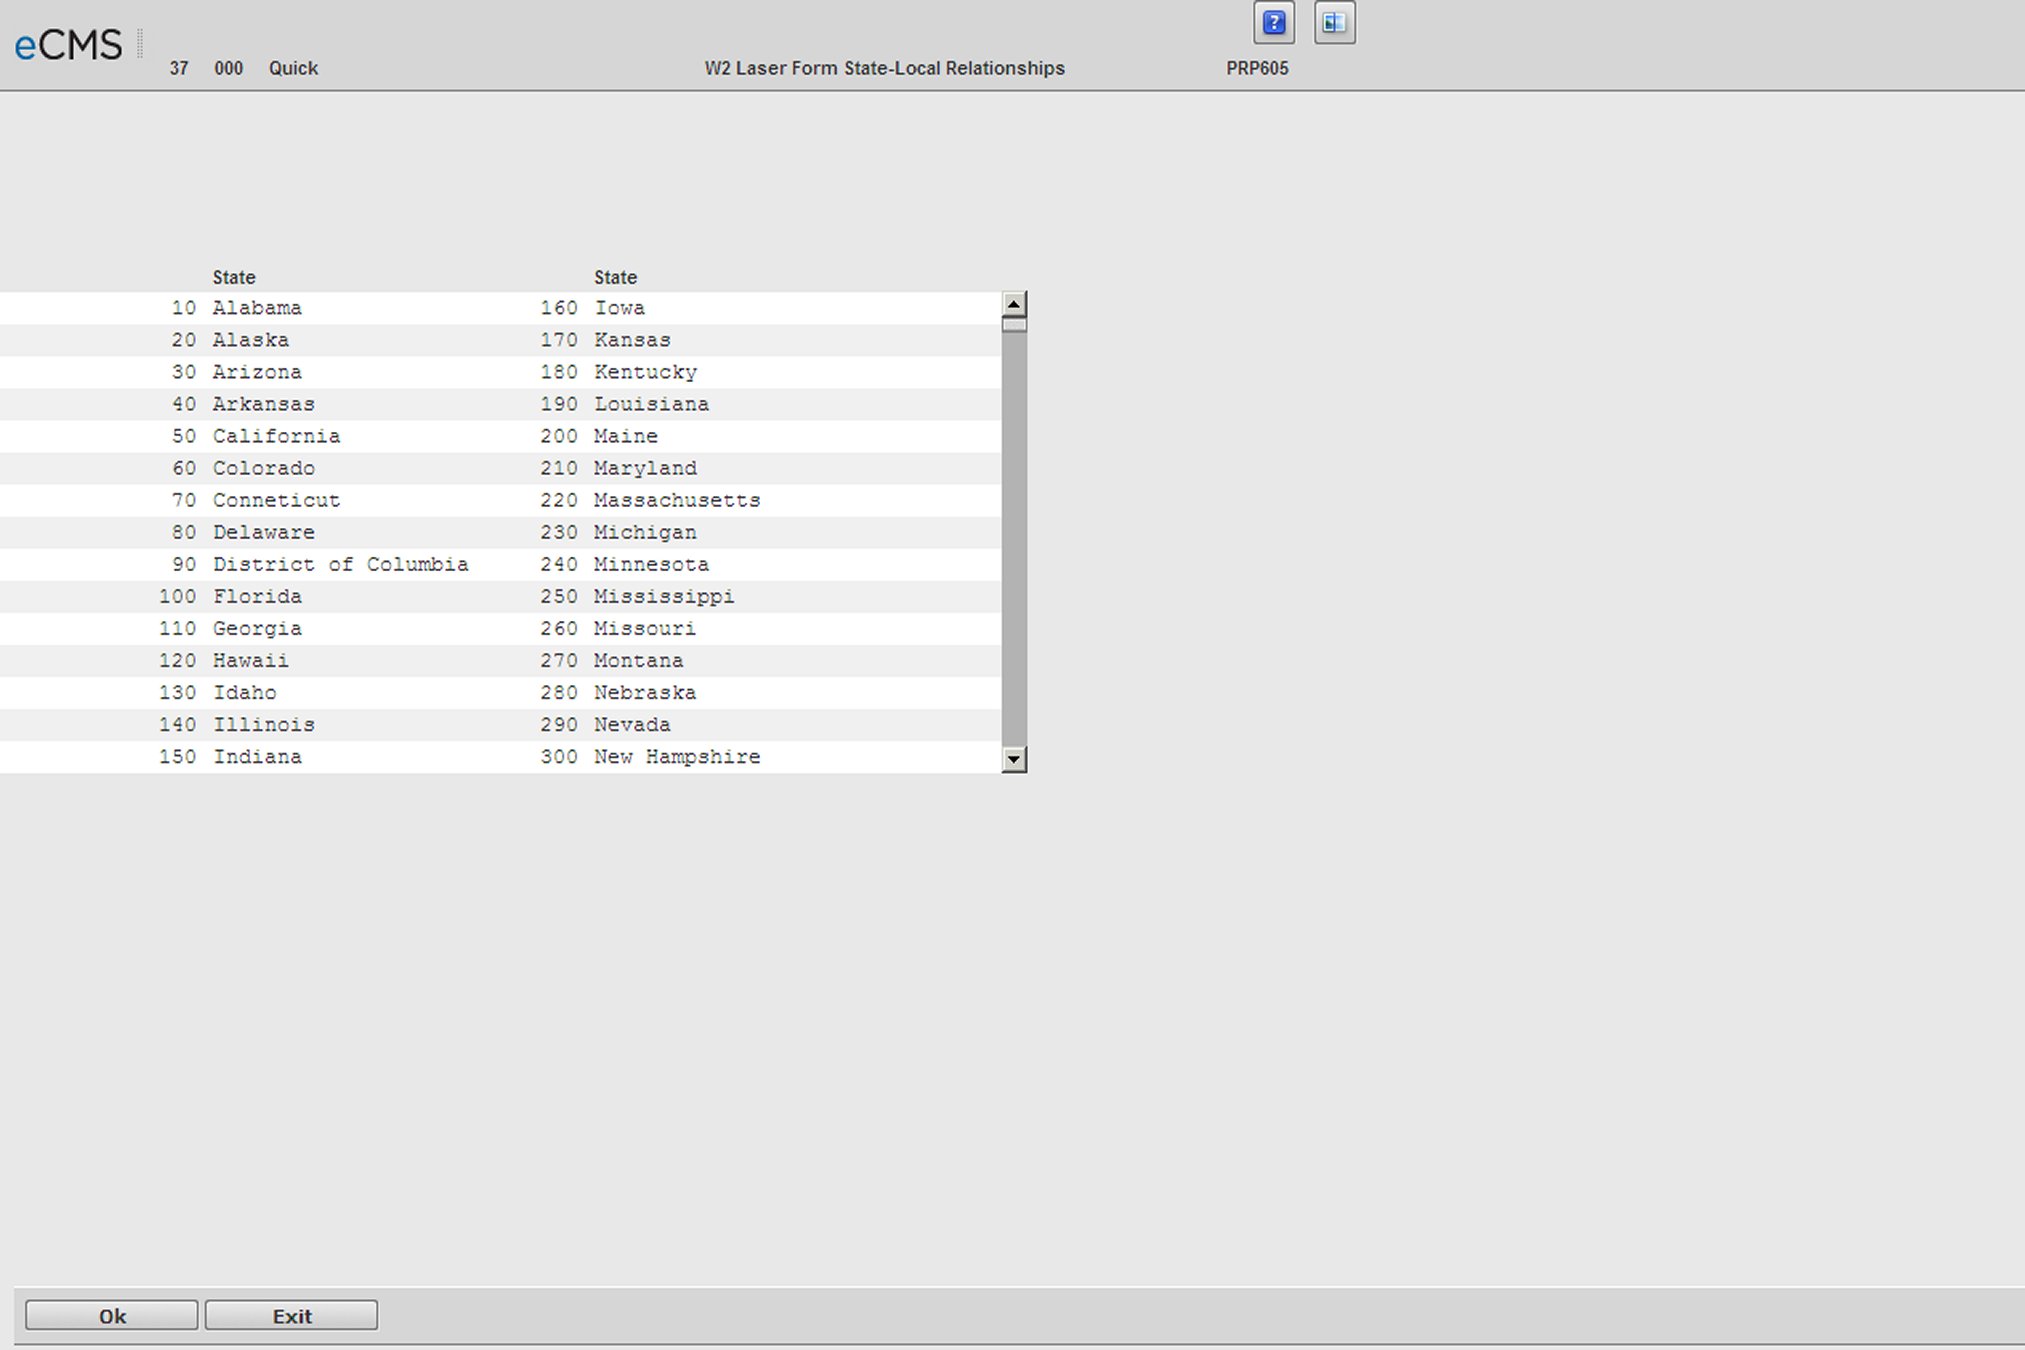
W2 Laser Form State Selection screen
To display additional states (New Jersey through Wyoming), use the scroll bar.
2. Click the state to which you want to assign local codes. The screen below displays.
W2 Laser For State-Local Relationships Detail screen
If there are no local codes in the state that you select, a message displays which states that the company does not contain any local codes.
3. On the screen above, in the Sel column, mouse-over the text box next to the local code you wish to select. You will be given a choice of leaving the selection blank, or selecting it by choosing Y next to the applicable local codes.
4. Click Previous to discard selections and return to the State Selection screen. When you have selected all of the local codes for a specific state, click State Selection to save your selections and to return to the State Selection screen.
5. Repeat this procedure for all applicable states. To save changes, perform your selections and then click State Selection to save selections and to proceed to the next state that contains additional local codes for you to assign.
6. Continue with this process until you have assigned all of the local codes in all of your companies and divisions.
7. When you have selected all of the local codes for a specific state, click State Selection to return to the State Selection screen and repeat this procedure for all applicable states.
8. Click Exit when you finish.